Glenn McCarron
PRO Member
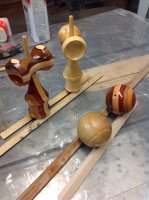
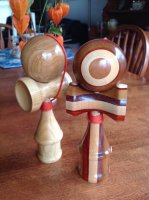
A few weeks ago I didn't even know what a "Kendama" was. A niece asked if I could make her one. A quick Google search showed me what it was but a more extensive search found a set of plans that was actually published in the American Woodturner magazine in August 2011. Great article with lots of pointers and jigs.
http://turnedtreasuresllc.com/wstl2/wp-content/uploads/2013/04/KendamaAAWPlans.pdf
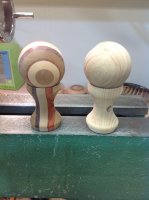
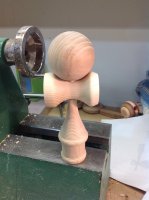
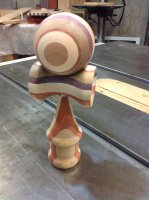
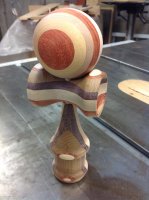
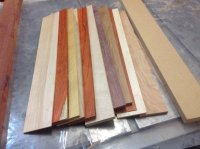
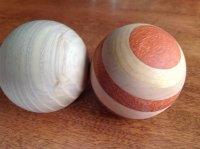
I decided I would do two for her but the first would be my test platform and the second one I would do a lamination to make hers unique. I had a few pieces of Ash that were big enough for the first and I had a bunch of off cuts that I had re-sawed from some material rather than planing from another project. So total cost $0.
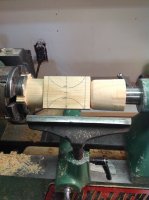
First up was the lamination.
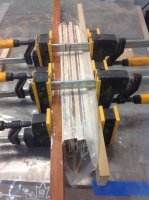
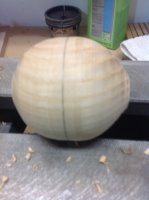
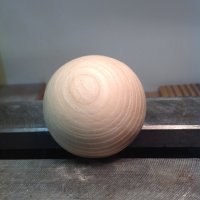
Next I started by turning the ball. I apologize I missed getting a picture but I basically turned two cups for my lathe. One held in the chuck and the other slipped over my live centre.
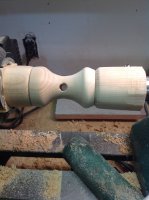
I also needed to drill a 1/8 hole in the opposite end to put the string through. You started by inserting a dowel in a board then positioning it under the drill press to drill in the centre of the dowel. Then put the ball on the stem and drill.
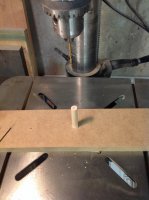
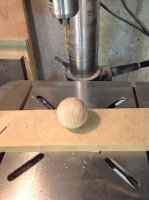
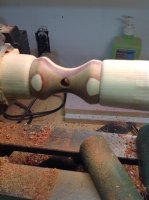
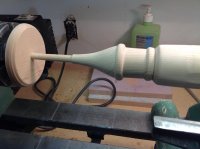
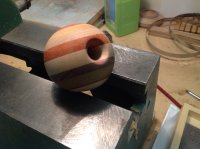
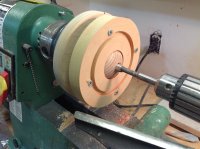
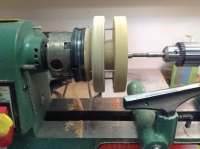
From here I needed to drill a 1/2 inch hole down the centre of each ball. I built a jig to attach to the lathe to help centre and hold the ball. I drilled to within 3/16 of the opposite side. I also flared the hole slightly as per the directions.
http://turnedtreasuresllc.com/wstl2/wp-content/uploads/2013/04/KendamaAAWPlans.pdf
I decided I would do two for her but the first would be my test platform and the second one I would do a lamination to make hers unique. I had a few pieces of Ash that were big enough for the first and I had a bunch of off cuts that I had re-sawed from some material rather than planing from another project. So total cost $0.
First up was the lamination.


Next I started by turning the ball. I apologize I missed getting a picture but I basically turned two cups for my lathe. One held in the chuck and the other slipped over my live centre.


I also needed to drill a 1/8 hole in the opposite end to put the string through. You started by inserting a dowel in a board then positioning it under the drill press to drill in the centre of the dowel. Then put the ball on the stem and drill.


From here I needed to drill a 1/2 inch hole down the centre of each ball. I built a jig to attach to the lathe to help centre and hold the ball. I drilled to within 3/16 of the opposite side. I also flared the hole slightly as per the directions.


Last edited:

