• Are you looking for a coupon code to buy my software? You can get one from lots of 3rd party sites but they won't work. My software never goes on sale and has never been discounted. The only coupon codes that are given is when I give a club presentation and I offer a discount to the attendees. Other than that, everyone pays the same price.

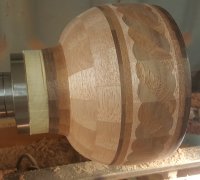
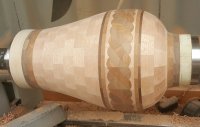
barley twist vase

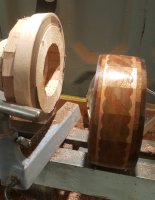
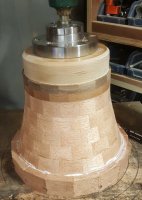
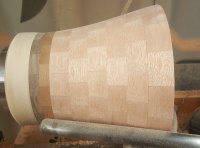
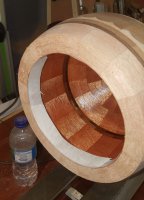
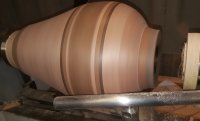
ok had a fairly good night on the turning tonight withe he help of my press i made years ago and the hot weather i manage to add three rings to the bottom half with only two more left to add, ( 15mins clamp time then added the next ring, it was red hot)
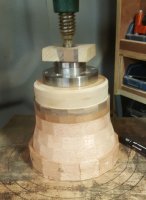
20170525_210349.jpg
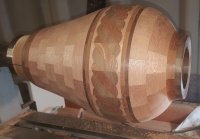
and to my top half i manage to add two correct!meranti rings and the feature ring
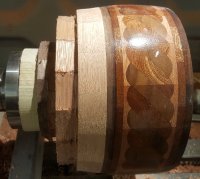
20170525_210341.jpg
my only issue i have is upon trimming the meranti ring down to the feature ring i noticed that I've miss aligned the ring orientation upon gluing the feature ring on. I think the first thing i will be doing tomorrow night is parting off the feature ring on the walnut side and cleaning it up so the walnut ring is around 4mm thick and the glueing it back on in the right orientation, think it will be worth it at the end.
Think ill easily get the last two ring attached tomorrow and the two half together, then i can start shaping it.
 
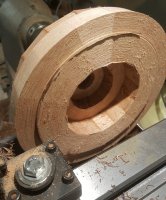
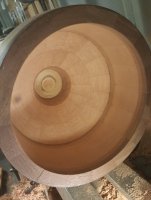
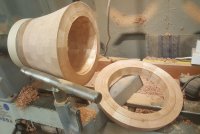
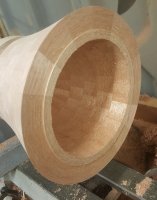
Today i parted off the feature ring, i then hallow some of the top section away while it was in easy reach, then cleaned both edges up again and glue them back together in the correct orientation as i should have done originally. The walnut accent rings are now 5mm thick
20170526_171612.jpgring parted off
20170526_171940.jpg face trued up, has to exactly fit feature ring as the pattern on the feature ring is not really thick enough to keep re truing it up
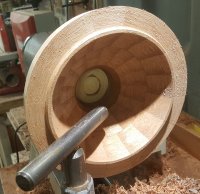
20170526_185828.jpg hollowed bulk mass away
20170526_183507.jpg mount feature ring on a large plant to re true bottom again, i use hot glue
20170526_194616.jpgfeature ring glued back on in correct orientation

20170526_194628.jpgtrimmed up the inside a bit more

i also managed to glue the last two rings on to the base section and the then cut a locating joint on the two halves to put toon lathe

20170526_200930.jpg last layer glued on

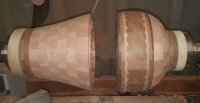
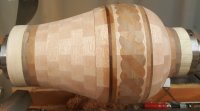
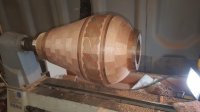
20170526_210544.jpg two halve on lathe withe the rebated joint in middle

i am thinking when the bottom is located on the top inside it will no be flush due to the rebated joint. I might make a bead detail on the inside so i don't have to reach inside with a chisel through the opening to clean it up, it would also mean i could Finnish the inside before i glue it up as i wouldn't need to cut the surface again after gluing up the two halves
Capture.JPG some thing like this but not as pronounced

20170526_210643.jpg heres the two halve together just needs shaping a bit more the walls are still plenty thick so i have a bit to play with, i think i need to make the foot a bit smaller i am not sure, i am open to suggestions although i am doing it tomorrow.So thats where am at
 
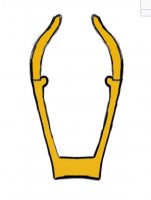
The only one that will be checking to see the inside will be another turner so don't worry about the slight bump. The last thing you want at this stage is to try that final clean up cut and send the piece flying. If you have enough wall thickness you might want to fair the curve more toward the bottom and round or tuck the bottom ring in a bit. Note how on your drawing you have a smooth continuing curve from the neck down to the bottom. On the lathe it looks like you curve out around the forth disc from the bottom. If you don' have enough wall thickness don't worry about it. Tuck in the bottom and you still have a fine looking piece.
 
upon returning to the lathe i noted how i had a unsightly joint between ring 7 & 8, ring 8 was still thick so i decide to part it off and take a different approach
20170527_114050.jpg bad glue joint

20170527_114433.jpg parted it off

20170527_114844.jpg and using the mating rebate previously cut i attach it to the feature ring on the other side

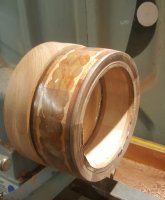
20170527_133303.jpg after the glue had set i cleaned up the bottom half and cut a new mating rebate to except the top, the fine tuned the top to fit

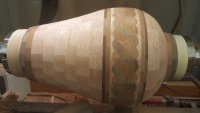
20170527_133540.jpg heres the two halves together again without that horrible joint

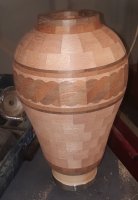
20170527_140055.jpg i proceeded to shape the final vessel and tried to make it more appealing to the eye, i turned the base smaller and tried to give it a constant curve from top to bottom as Stuart recomended. I still have a decent wall thickness to play with, if anyone has a opinion on it.

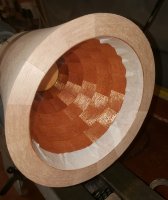
after this i decided to trim up the inside so when the two sided meet the are somewhere near flush if i get the alignment right and sanded inside to 400 grit ready for finish ,then i proceeded to give the shop a deep clean removing all the dust and shaving ready for finishing the inside of the vessel.

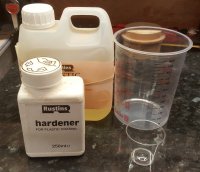
20170527_153216.jpg this is my current favourite finish at the moment it called plastic coating and is manufactured by company called rustins it comes in two parts the lacquer and the hardener The components are mixed at a ratio of 4-1,thats 4 parts lacquer and one part hardener , in order to do this i used a plastic shot glass and i mark it depending on how much i want to mix with a white paint pen, i use this to measure it out. To apply the Finish i use a foam brush manufactured by a company called chestnut, there are cheaper foam brushes that you would think would be ok but don't bother with those one as they will desolve and fall apart while you are using them making a mess

20170527_154822.jpg first thin coat on inside i am not overlay bothered about getting a high gloss finish on inside its just to seal the wood inside and protected it from the air humidity to help prevent movement, i think i will give it 3 coats before i glue the two halves together
 
Thanks for the follow long project posts. One can glean a lot of tips and info from them.
 
no worries its kinda of fun to do, i think when you get engrossed in something its easy to not realise all the steps you take without thinking, if you know what i mean.Writing it all down has made me realise how much work it is, although it nice work i really enjoy the process and then the gratification at the end when you can look at it and say "i made that", thats the reward for me
 
Thats second coat on, nothing to seeing, one more coat then i might glue the two halve together over night. As a side note when i do a coat i alway do a small patch on the outside that way i can check its dry without actually touching the finish
 
Looking good. You might round the bottom a bit more but I think I would probably stop fiddling and call it done. You are 100 percent correct with "I made that" being the reward.
 
hi stuart thanks for you input could you do us a sketch showing how you'd shape the botton cheers
 
3rd coat still tacky i am going to leave it to air over night before i glue the two halve together
 
How i understand it is If the coats are added within one hour of each other they will chemically bond together so there is no need for sanding between coats other wise you should wait 48hr before sanding and continuing to add coats. For this reason i try and add a thin coat every hour to build up the layers. Can be a lengthy process otherwise
 
How i understand it is If the coats are added within one hour of each other they will chemically bond together so there is no need for sanding between coats other wise you should wait 48hr before sanding and continuing to add coats. For this reason i try and add a thin coat every hour to build up the layers. Can be a lengthy process otherwise

That makes sense Martyn. I'll wait to watch the process on the outside.
 
Martyn, like I said it is a small change and I don't know if I would make it. The bottom and how it is handled is really a personal preference but I like the rounded or tucked under look so it doesn't appear to be flat on the table. barley.jpg
 
ah i see, i am not totally sure but i am going to have a think about that one back at the lathe, thank you for getting back to me i do appreciate it
 
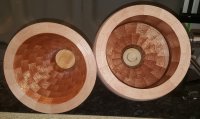
Ok finish was dry this morning so i taped up the insides

20170528_120722.jpg bottom
20170528_120650.jpg top

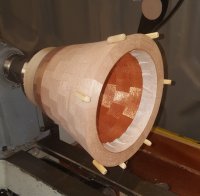
And then i hot glued some dowels around the bottom half to align the two halves

20170528_120816.jpg

And then glued them together

20170528_120909.jpg


Job done, worked a treat
 
Last edited:
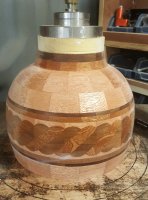
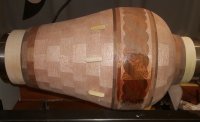
ok so know i have cleaned up the external joint
20170528_154415.jpg

then i parted off the top and freed it from the chuck and glue block
20170528_154704.jpg

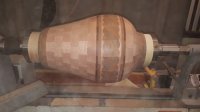
and shaped the top ring i profiled it to a almost flat top but with a scoop to show off the walnut
20170528_162306.jpg

i also shaped up the bottom a bit although you cant tell in the following photo
20170528_162410 (1).jpg
 

Attachments

  • 20170528_162306 (1).jpg
    20170528_162306 (1).jpg
    3.8 MB · Views: 19
Back
Top